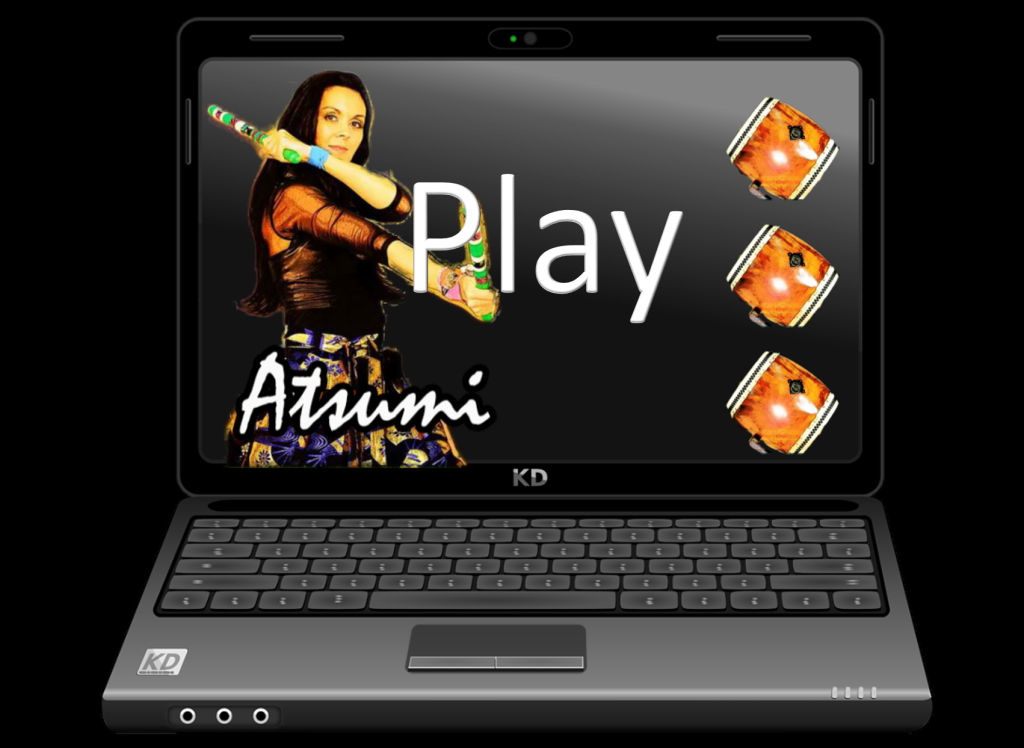
Instructional videos have always been considered a great way to convey knowledge or illustrate concepts. This week I did a bit of quick green screen video editing to create a mock TV show dubbed “eLearning Legends: Atsumi”. Why? Another awesome ELH Challenge of course! This week’s challenge #101 was inspired by the presence of Atsumi at the recent DevLearn 2015 conference. Atsumi is an actor, model and talented Taiko drummer who is in fact the default elearning photographic character that comes with Articulate Storyline. Every Storyline user was excited to see her there at the Articulate booth and many even got the chance to take a selfie with her. I didn’t get to go this year (sniff, sniff), but instead I created this interaction with greenscreen effects and my own acting performance (what can I say? I’m on a low budget) to participate in the challenge. In this sample, I mimic those classic movie shows where the highlights of an actor’s career are shown and the host adds commentary. In this post, I share the process and some creative tips to integrate videos without background into your elearning courses.
Ingredients
- HD camera, preferably anything capable of 1080i resolution. If not, you can use your iPhone or other device’s video camera.
- Tripod
- Script (it helps for “real” projects)
- Adobe Premiere PRO or Adobe After Effects (this is the software I used to remove the video background) or equivalent video editing software.
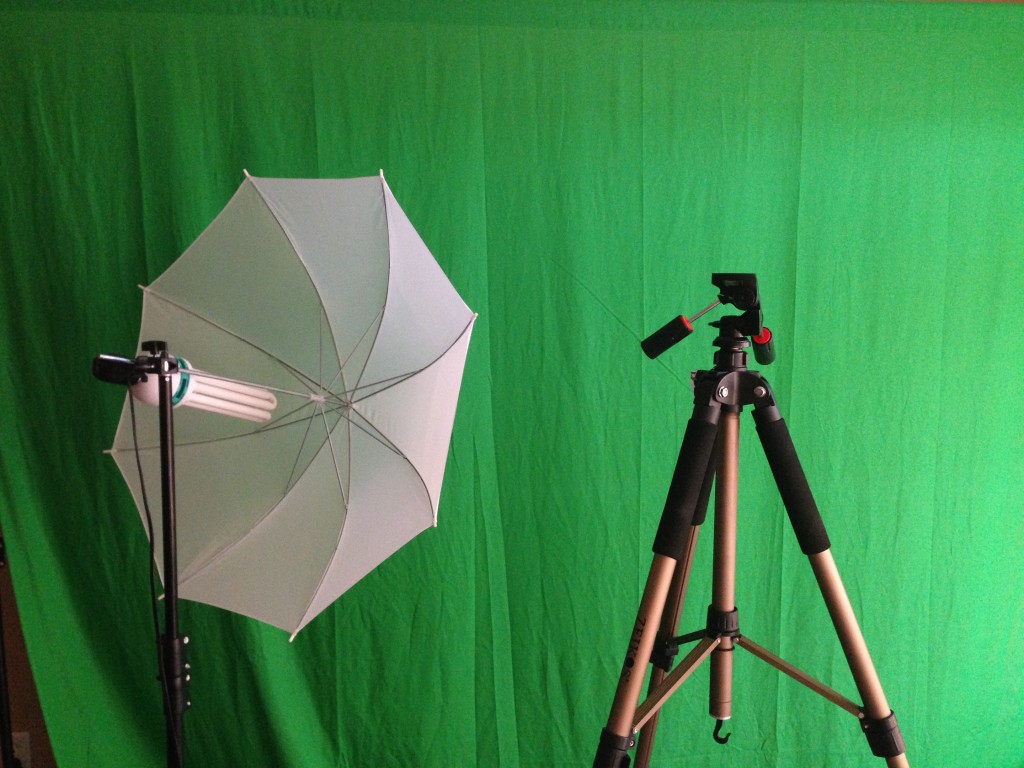
- Green Screen ( if none available, try shooting in front of a colored wall or sheet that does not match the character’s colors)
- Lighting Equipment
- Articulate Storyline or Storyline2 (I’m using SL2)
- Google Drive or other cloud based storage (optional)
Video Shooting with HD on a Tripod
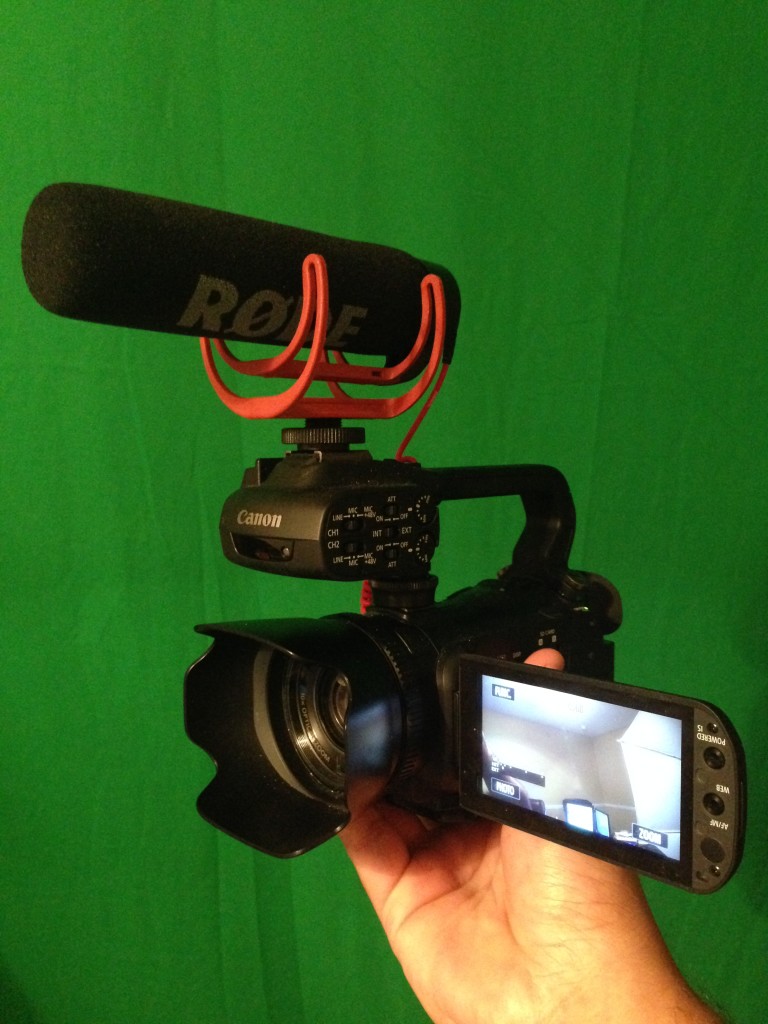
Ideally, set the camera up on the tripod so it remains stable on a flat surface. You could also use a table or desk to sit the camera on. It really helps if you camera has a side view display that so you can see whether or not you are in frame for the shot. My camera is what is known as a “prosumer” camera, it looks like a camcorder but it’s way more powerful. It’s the Canon XA10.
iPhone Video
You can get away with some decent shots using an iPhone. For a steady shot you can use a selfie stick.
Removing The Background
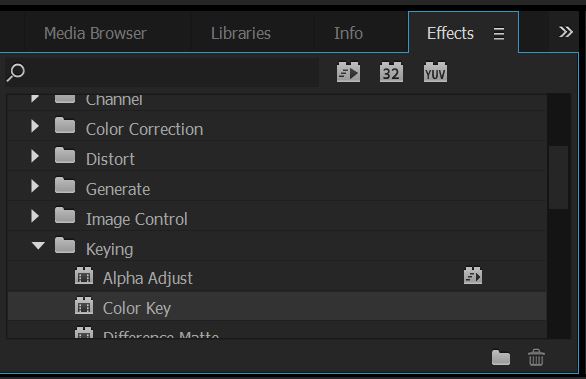
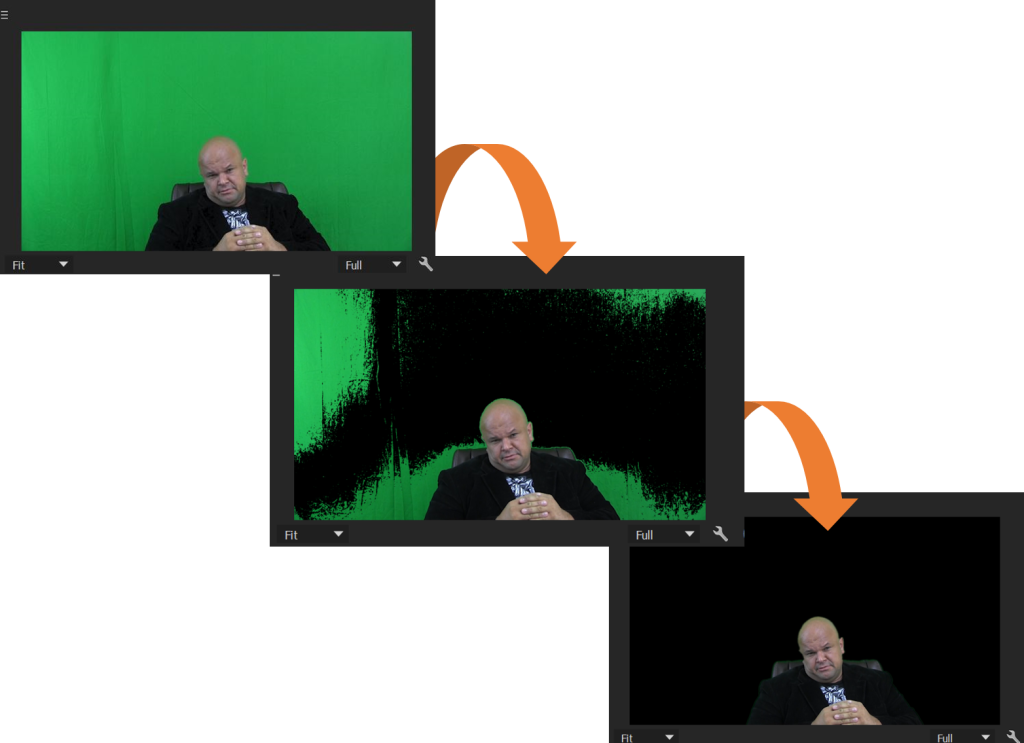
In this sample, I used the Color Key effect on the footage using Adobe Premiere PRO CC2015. The effect is available in versions 5.5 and above. The process is simple:
1) Add the Color Key effect to your footage
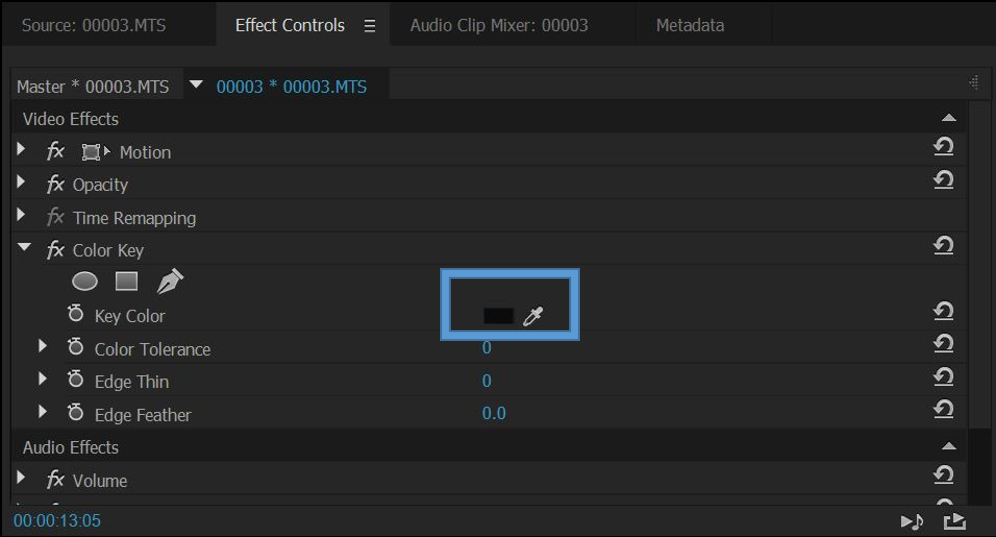
2) Use the Eye Dropper feature to set the color to “key out” which in this case is the green screen.
3) Adjust Color Tolerance and Edge Feather settings until you achieved the desired look for background removal
After you are satisfied with the outcome, render the sequence in Adobe Premiere and export it as an H264 .mp4 (which is better for HD video) or select an MPEG-4 if H264 is not available.
Storyline2 Work
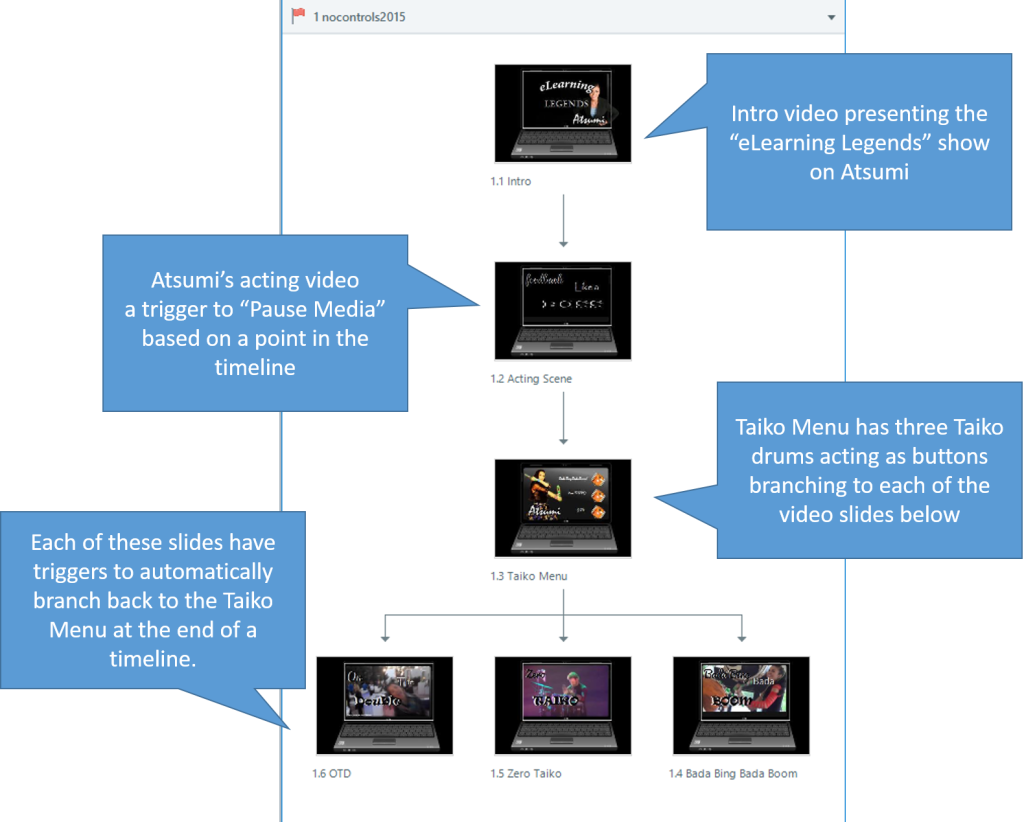
The approach in Storyline2 is a very simple linear and branched scenario mix. Below is a snapshot of the sample’s story view with some notes.
ZOOM Region Effect
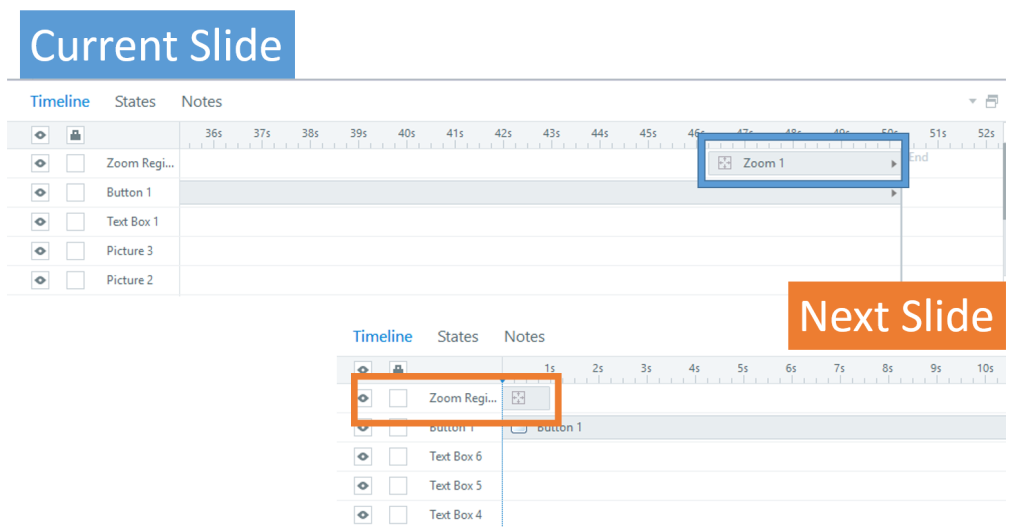
Storyline2 has an awesome feature called the ZOOM Region under the INSERT tab. It’s very useful to accentuate focus on a section of the screen, especially for software training or demos. I used it to give a panning effect on the transitions at the end and beginning of each slide.
Media Triggers (Video)
The use of triggers to control video playback was critical for the overall experience. Each of the video slides has an audio introduction by the host. Therefore, I used media triggers to pause videos when the timeline started and then to play after the audio introduction completed. This gives the impression that the video is a still image that then “comes alive”. I love that experience as a user and I feel it creates a conscious or even subconscious memorable event for the learner.
Watch the Sample!

