Mass shootings are a sad reality of our times and can happen to anyone, anywhere. Recently, active shooter courses have become a staple of compliance training for many companies. Last year, I designed an active shooter elearning course which was my submission for LSDemoFest at LSCON16. Even though it was not a winner, the feedback given by many was very rewarding. The course was designed as part of the compliance curriculum but, my intent was to make it a vivid and memorable learning experience. The approach was to create an multimedia interactive elearning module where the user is taking an orientation course about security and active shooters. Suddenly the active shooter course is interrupted by gunshots which means the user must decide what to do to survive. This post describes some advanced techniques used in Storyline2 to create the experience.
Background
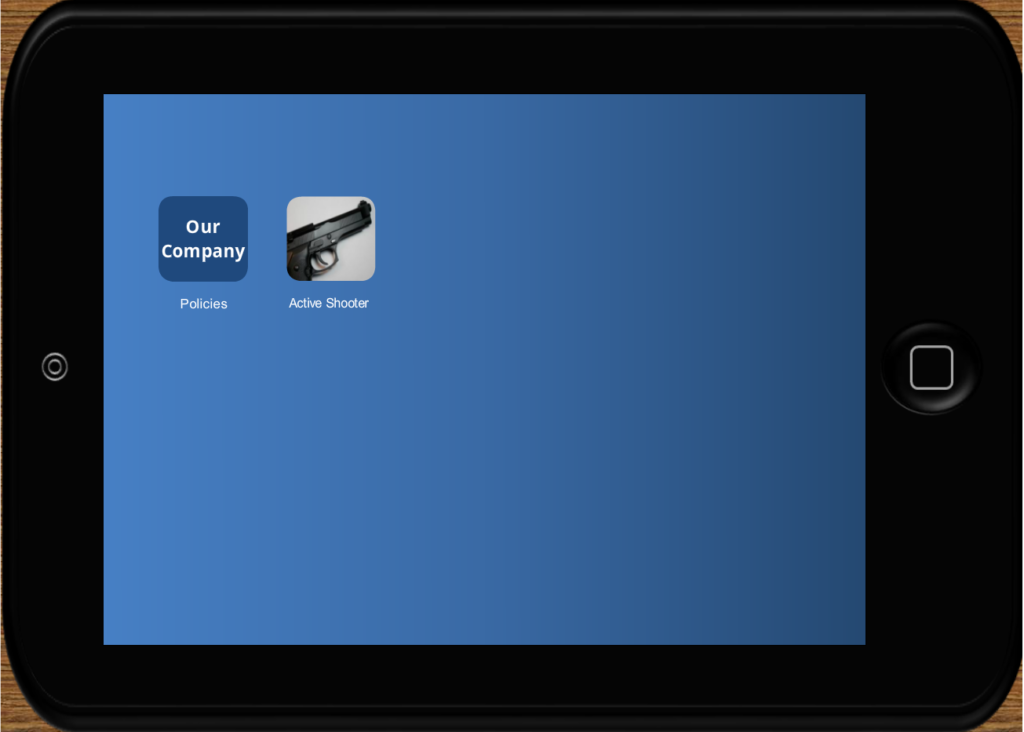
The original course the user is introduced to the company building and common areas as most companies would do in real life. A series of navigation buttons are queue to take the user to the lobby, breakroom and restrooms. Then, the user is instructed to report to the training room. Next, an assignment is given to complete the mandatory security training using the on screen iPad as seen below. This is where this post’s demo starts.

Triggers, Layers, States and Variables
Storyline2 does a great job at giving you the power of Javascript without having the need to know any programming. That’s where Triggers play a great role since you can control what happens based on many factors i.e. user action, timeline, keyboard strokes, etc. Layers give you the best way to pack several instances of content or information into one slide which really speeds up your workflow. States let you display several versions of one image or shape and change it based on user actions. Variables are great tools to hold information that can be used and referenced multiple times throughout the course. A common example of this is the %name% variable which designers use to store a user’s name. There are multiple layers used to reveal content as part of the security courses. Here are some examples on how these elements where used in course interactions:
When the user clicks on “Our Company Policies” it activates a Trigger that opens a layer with buttons leading to “Badge”, “Weapons” and “Workspace” layers with security related content to simulate the iPad navigation behavior.

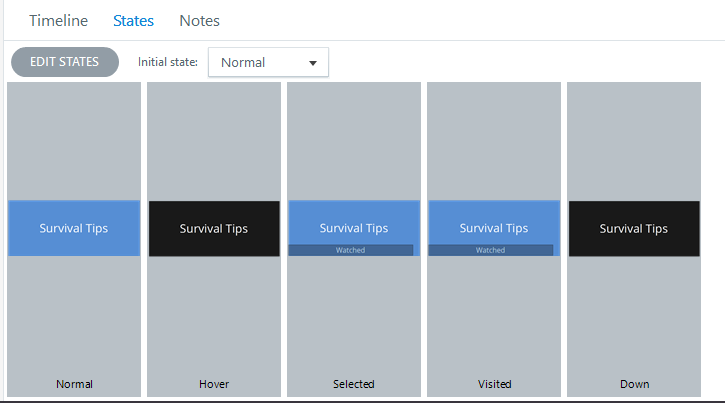
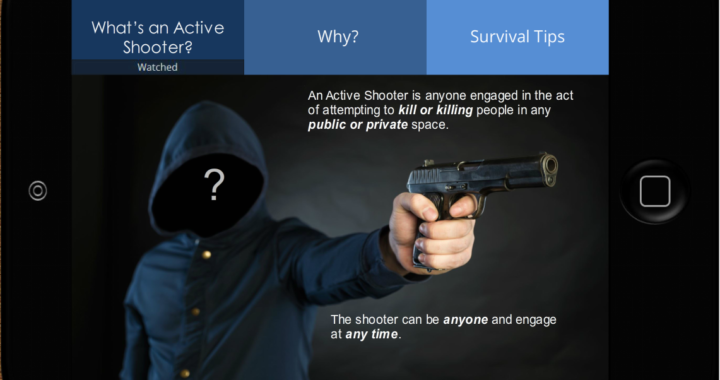
States were used on buttons to help the user confirm whether the specific section selected was read already or “Watched”.

Active Shooter Onsite!
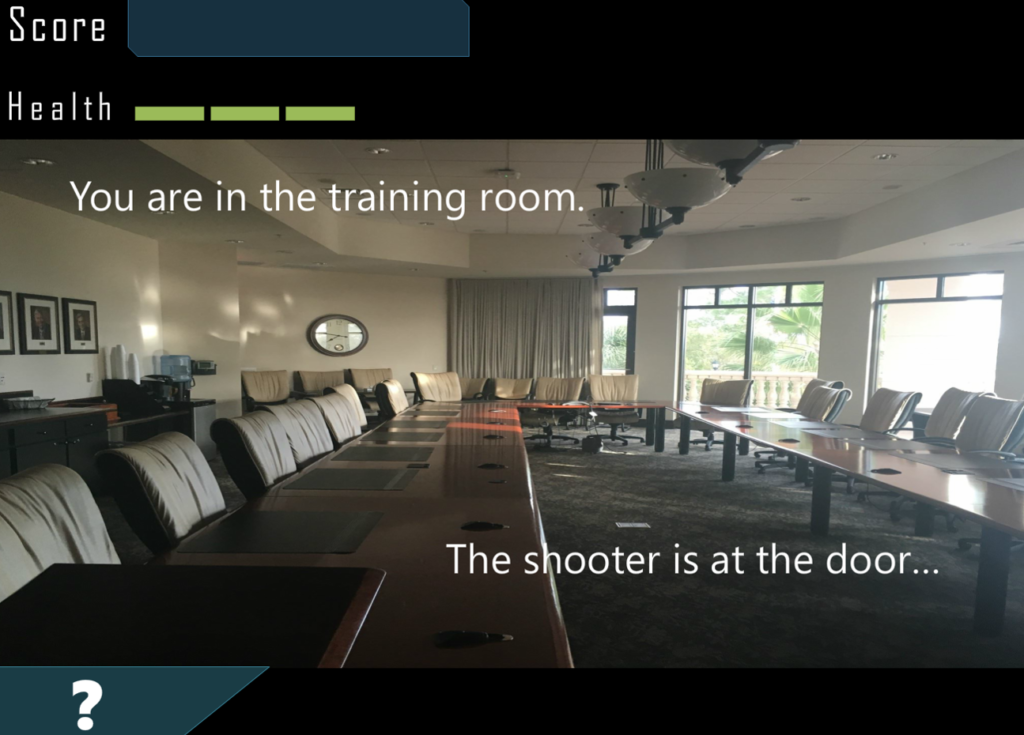
This is the climactic event of the course as it’s simulating the arrival of an active shooter to the workspace. The event is triggered when the user views all three content layers in the “Active Shooter” mini course. The user is then informed about the active shooter and a branched scenario ensues. The user is given choices and his or her fate depends on the choice made i.e. sort of like “real life”. The best part about the experience is that no one has to die, just learn. I hope you enjoy it and can use this approach for better learning outcomes.


